Trail Signage
All resorts use a standard signage system to indicate their easiest through hardest runs, although the signs may stay the same, the difficulty level may vary by resort as the run style is not standardized. Always check the resort maps and elevation before attempting a new run.
 Easiest
Commonly found on beginner runs, a green circle indicates the easiest way down the hill.
 More Difficult
Intermediate runs are marked with a blue square. These runs are a bit more challenging and may not be suitable for a beginner but usually safe for Novice and Intermediate skiers and snow sliders.
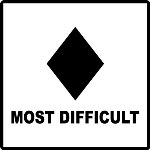 Most Difficult
Advanced runs are marked with a black diamond pattern. These runs can be difficult to traverse and should not be attempted by beginner or Novice skiers. Always check with an experienced Snow slider before attempting if you are new to the sport.
 Expert Only
Expert only runs are marked with a double black diamond. This indicates the resorts most difficult run/trail. These runs can include un-groomed, steep terrain, forested areas, natural hazards and many other unseen challenges.
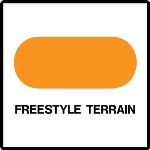 Freestyle Terrain
Posted at top of Terrain Park or trail to alert sliders that there are freestyle objects present, a helmet is usually mandatory in these areas and in some cases a special pass may be required to use the park.
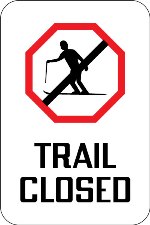 Trail Closed
A closed trail sign is particularly important to pay attention to; there can be natural or man-made dangers, insufficient snow coverage or even equipment on the hill. All of these can damage your equipment and even hurt you. Skiing or boarding on a closed trail can even cost you your lift ticket.
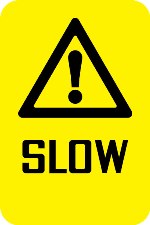 Slow
Slow
These signs are posted to warn of slow areas, often they indicate a merging of runs or approaching a lift or beginner area.
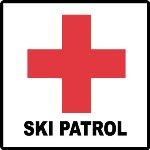 Ski Patrol
These signs show where medical aid is available.
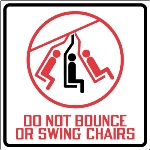 Do Not Bounce or Swing Chairs
This sign means exactly what it says DO NOT BOUNCE OR SWING the chair. These actions are very dangerous to everyone on the lift and can cause injury to riders and the lift to fail. Sit balanced and calmly on all chair lifts.
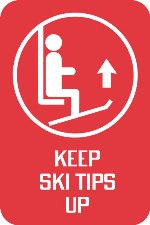 Keep Ski Tips Up
Usually seen at the unloading ramp of the lift, keeping your tips up prevents skis getting caught on the back side of the unloading ramp.
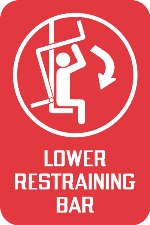 Lower Restraining Bar
Seen before the first chairlift tower to remind riders to lower the bar, lowering the safety bar greatly reduces the risk of falling from the chair.
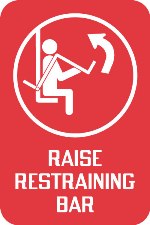 Raise Restraining Bar
Indicates the correct place to raise the bar safely. The location allows sufficient time to raise the bar prior to unloading.
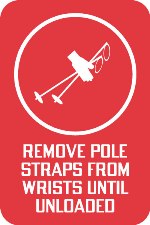 Remove Pole Straps Until Unloaded
Posted at the lift line to remind riders to remove the pole straps, riding a lift with straps on wrists can lead to injury.
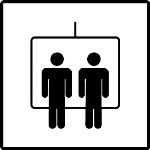 Double Chair Lift
This lift seats a maximum of 2 riders at a time.
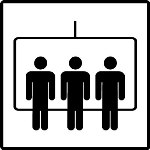 Triple Chair Lift
This lift seats a maximum of 3 riders.
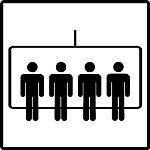 Quad Chair Lift
This lift seats a maximum of 4 riders.
 Six Person Lift
This lift seats a maximum of 6 people.
 Clear Track Immediately If You Fall
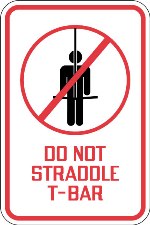 Do Not Straddle T Bar
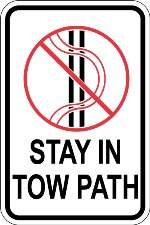 Stay In Tow-Path
Ride in the designated track path. Skiing outside track can cause injury and equipment damage.